This guide will show you how to upload and describe photos in Infiry.
Uploading Photos
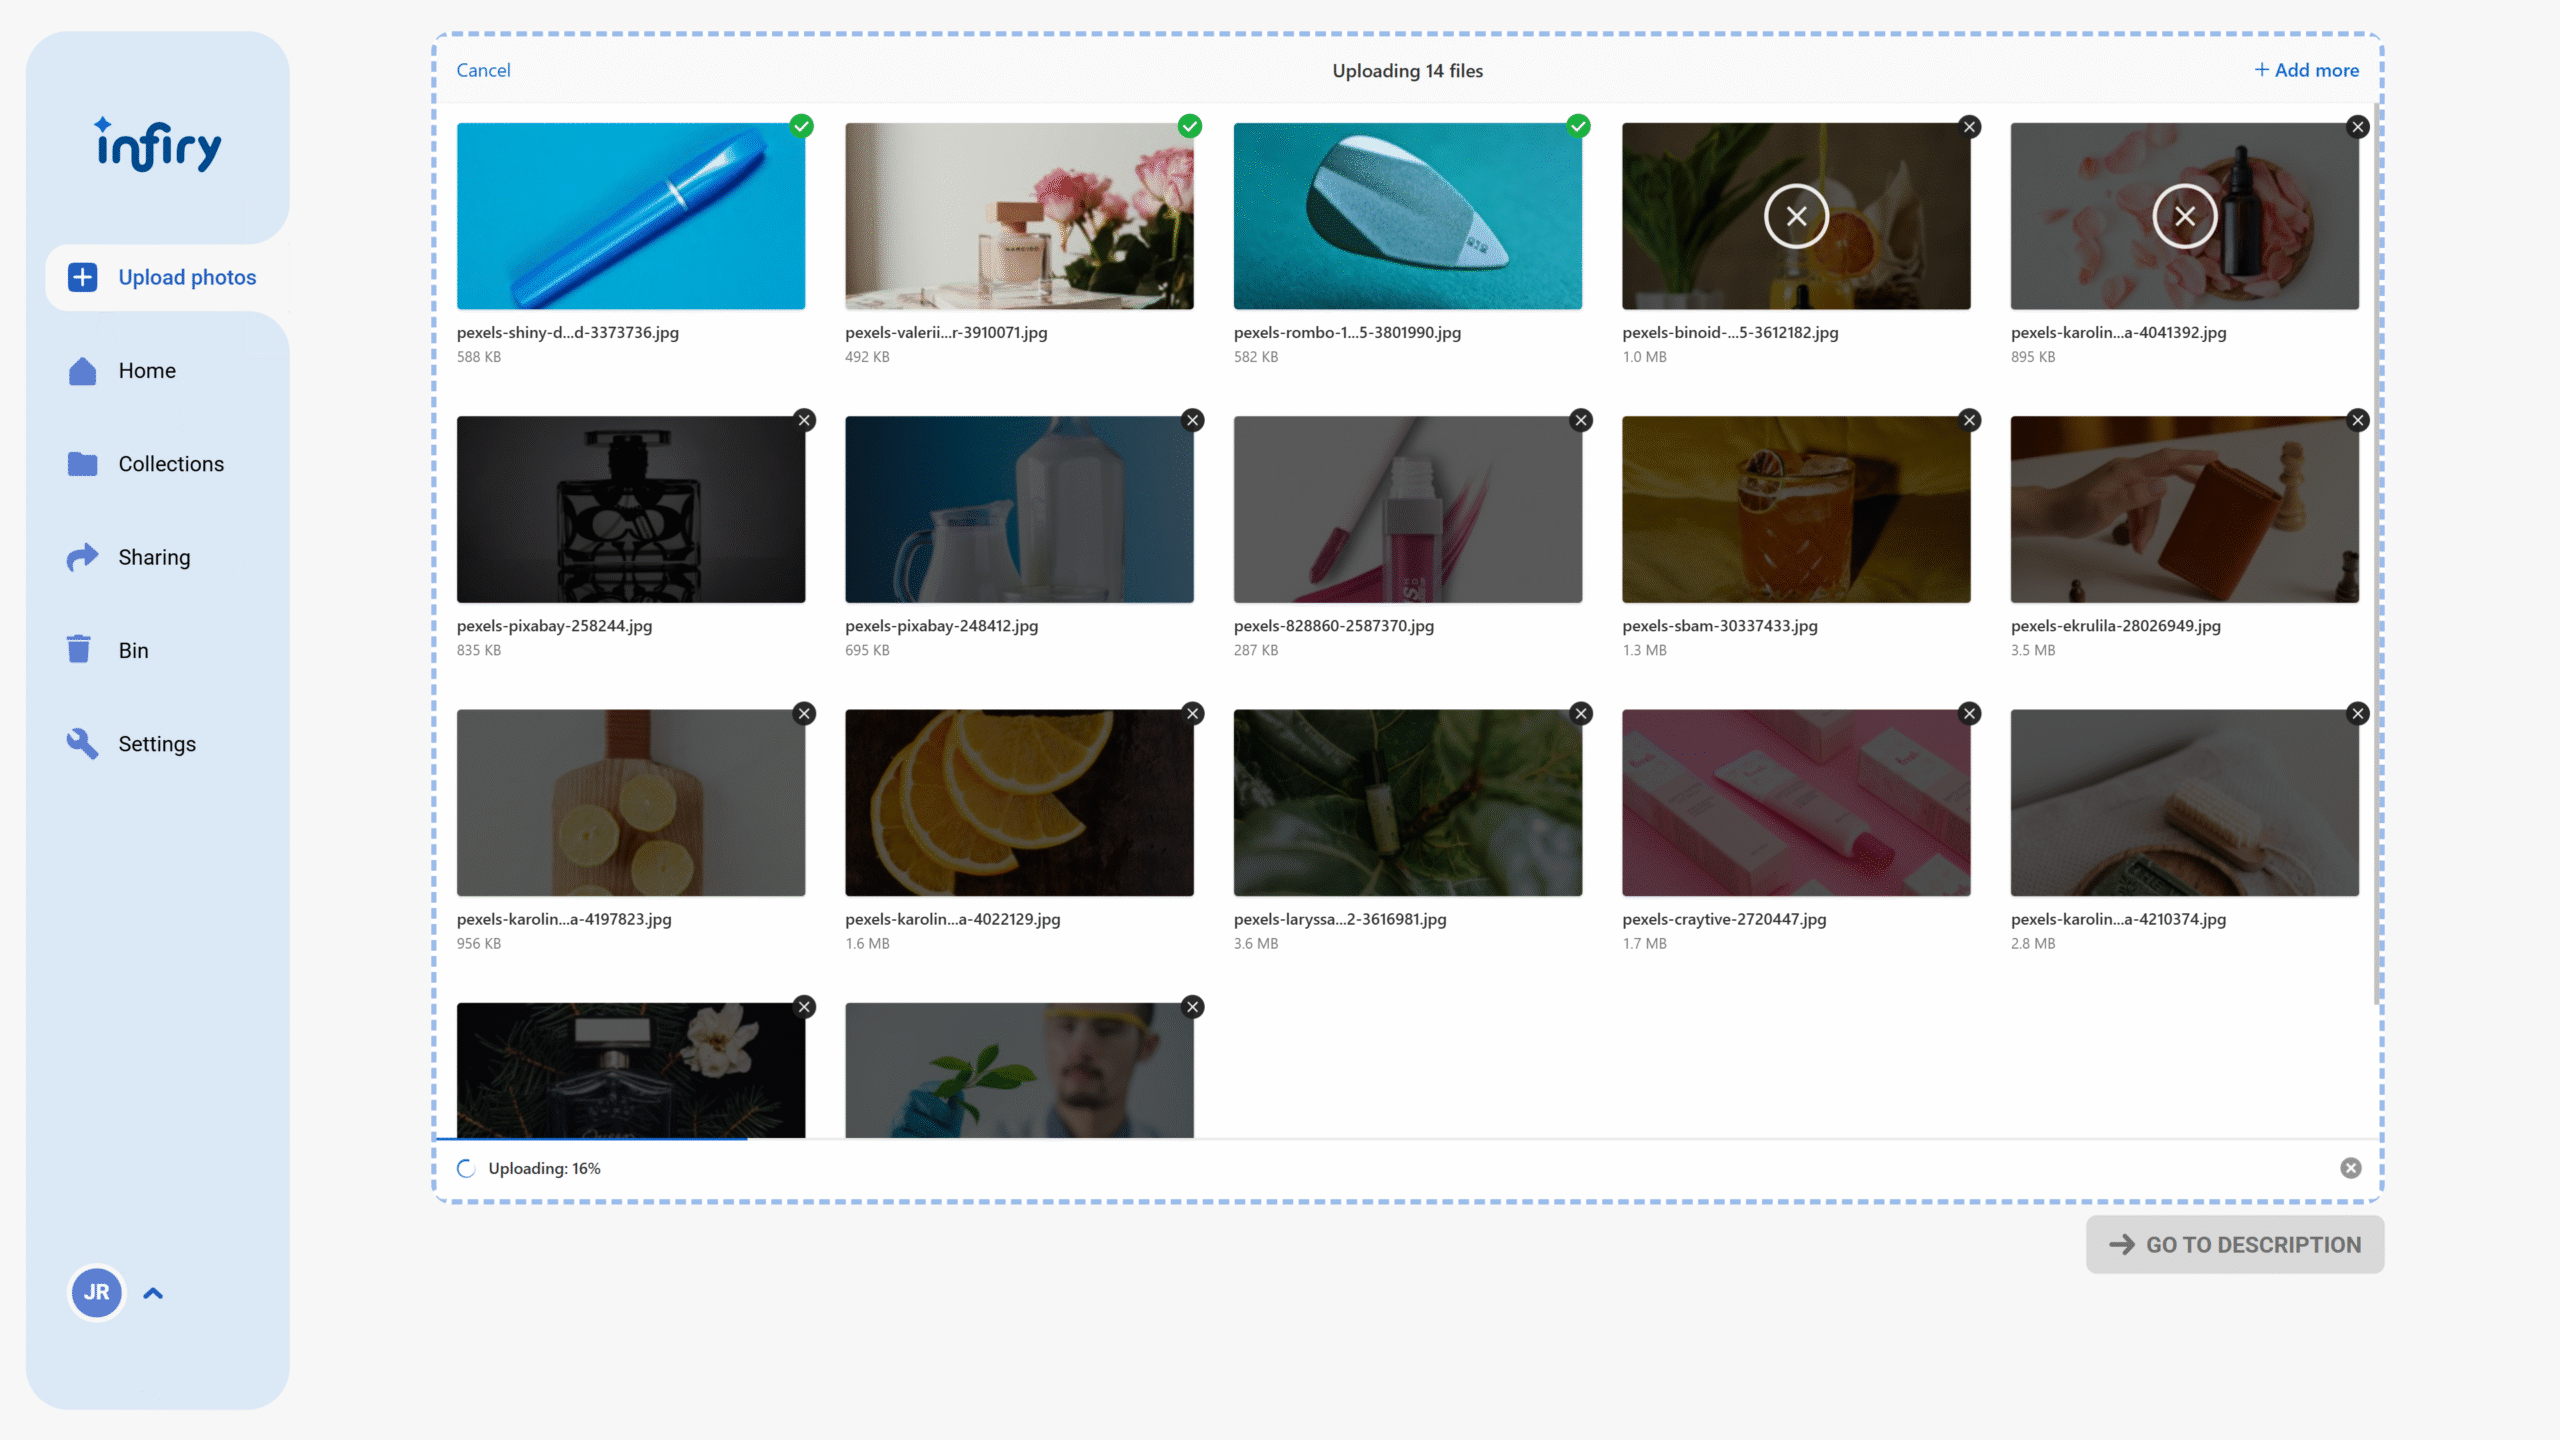
- Click the “Upload Photos” button in the left menu.
- You can either click to open the file explorer, or simply drag and drop photos into the upload area.
- Supported formats include:
- JPEG
- TIFF
- PNG
- The maximum file size is 290 MB, and the maximum resolution is 16,000 x 16,000 pixels.
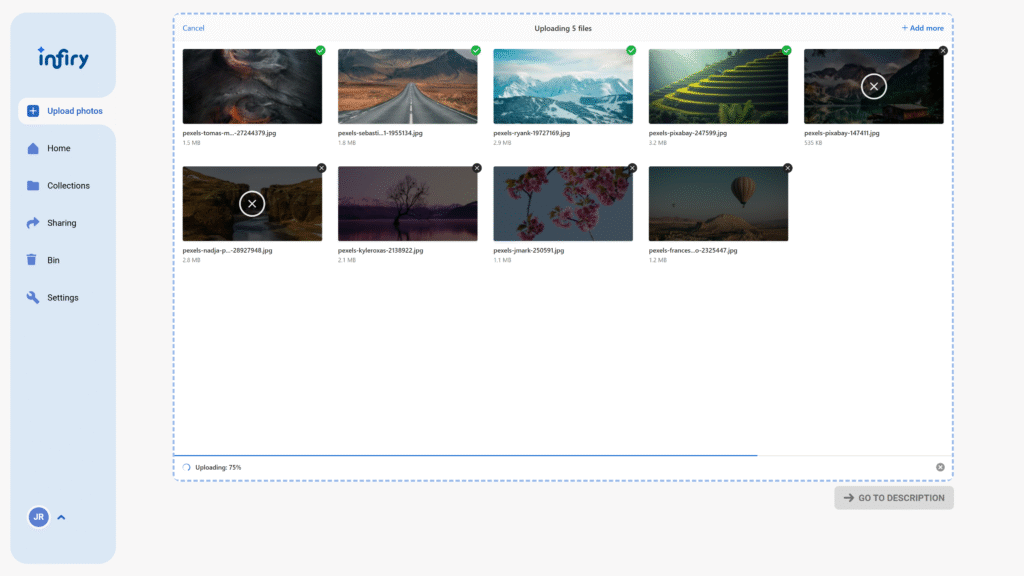
- If you accidentally upload an unwanted photo, hover over the photo in the upload grid and click the delete (X) icon before it’s fully uploaded.
- While uploading, you can monitor progress at the bottom by checking the upload percentage.
- Once the upload is finished, click on the „Proceed to Description“ button.
Describing Photos
- After uploading, move on to photo description. All fields are mandatory except for the collection.
- Start by selecting or adding the photographer. If the person isn’t listed, click “Add Another” and fill in their name.
- Add keywords. Confirm each keyword using the Enter key, a comma, or a semicolon.
- AI will also generate hidden keywords in the background for better searchability.
- Select the collection the photo belongs to. You can also create a new one here.
- Fill in the city where the photo was taken, license type, department, and the date taken.
- You can copy a field to other photos using the copy icon next to each attribute.
- To copy all attributes to all photos, click the “Copy Data Everywhere” button.
- Once you’re done, click the “Publish” button to complete the process.

Tags:
- Add city name
- Add photo description
- Add photo keywords
- Add photo location
- Add photographer name
- AI-generated keywords
- Assign photo to collection
- Auto-generated keywords
- Best way to upload images
- Choose department
- Confirm keywords
- Copy all photo data
- Copy metadata to other photos
- Create new photo collection
- Delete photo before upload
- Describe photos after upload
- Drag and drop photo upload
- Enter date taken
- Finalize photo upload
- Hidden keywords for search
- How to upload photos
- Image metadata management
- Infiry for photographers
- Infiry photo upload tutorial
- Infiry photo workflow
- Infiry upload instructions
- Infiry user guide
- JPEG photo upload
- Keyword tagging for photos
- Mandatory photo fields
- Maximum image resolution
- Maximum upload size
- Online photo management
- Optimizing photo metadata
- Photo upload grid
- Photo upload guide
- Photo upload interface
- PNG image upload
- Publish photos in Infiry
- Remove uploaded photo
- Select files to upload
- Select photographer
- Set license type
- Supported photo formats
- TIFF file upload
- Upload and describe photos easily
- Upload large resolution photos
- Upload percentage display
- Upload photos to Infiry
- Upload progress indicator
- Uploading images step by step
- Web-based photo uploader
